To be able to generate bit-stream by using HEVC video coding standard, first of all, we have to define the operating system that we would like to run on. This tutorial uses Linux OS to run the video coding standard which contains less running time if we compare with Window OS.
Step 1: Download video test sequences and prepare configuration files to simulate:
1. Hannover’s SVC sequences: ftp://ftp.tnt.uni-hannover.de/pub/svc/testsequences/
2. Many other sequences (very good): http://media.xiph.org/video/derf/
3. If the file is not yuv format, please convert the sequence to raw yuv file using FFmpeg:
$ffmpeg -i FourPeople_1280x720_60.y4m FourPeople_1280x720_60.yuv
Install FFmpeg in case you don’t have it: sudo apt install ffmepg
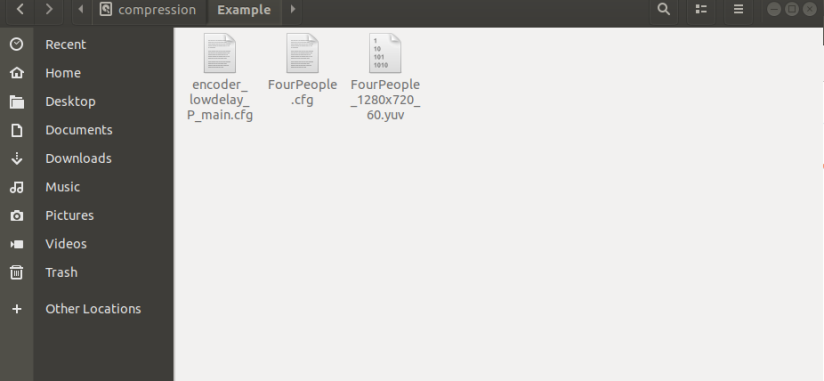
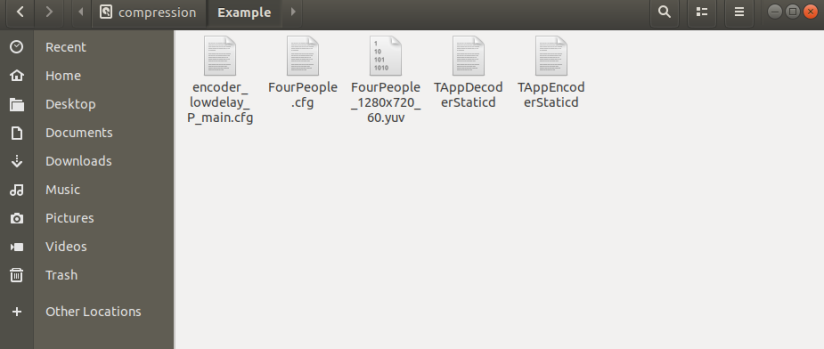
4. Create folder directory (e.g. Example), then go to “per-sequence” folder in “cfg” folder of HM-16.10 folder to copy the respective configuration of the video sequence, in this example, we use FourPeople test sequences, then copy FourPeople.cfg to folder directory above.
5. We will use “encoder_lowdelay_P_main.cfg” configuration of HEVC reference software to simulate in this example. Then please copy “encoder_lowdelay_P_main.cfg” file from cfg folder to your folder directory.
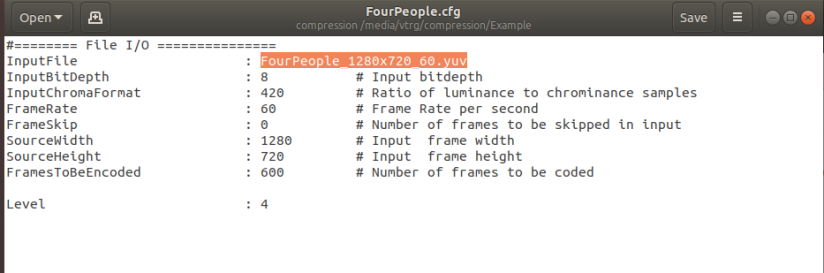
6. Open “FourPeople.cfg” file to set your test sequence location:
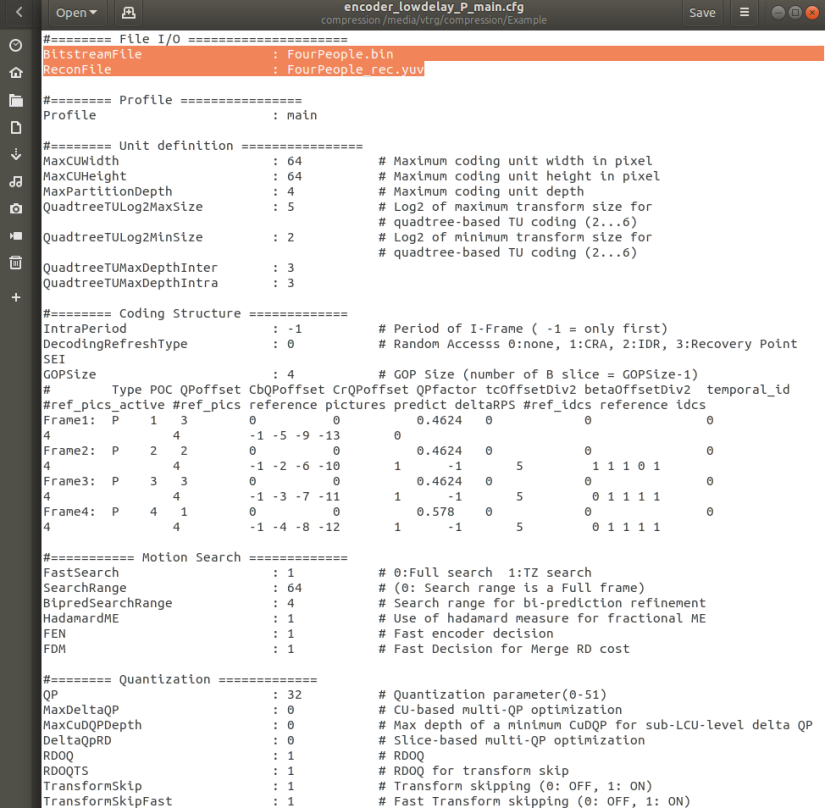
7. In “encoder_lowdelay_P_main.cfg” file, you can change the BitstreamFile name, ReconFile name, and other parameters.
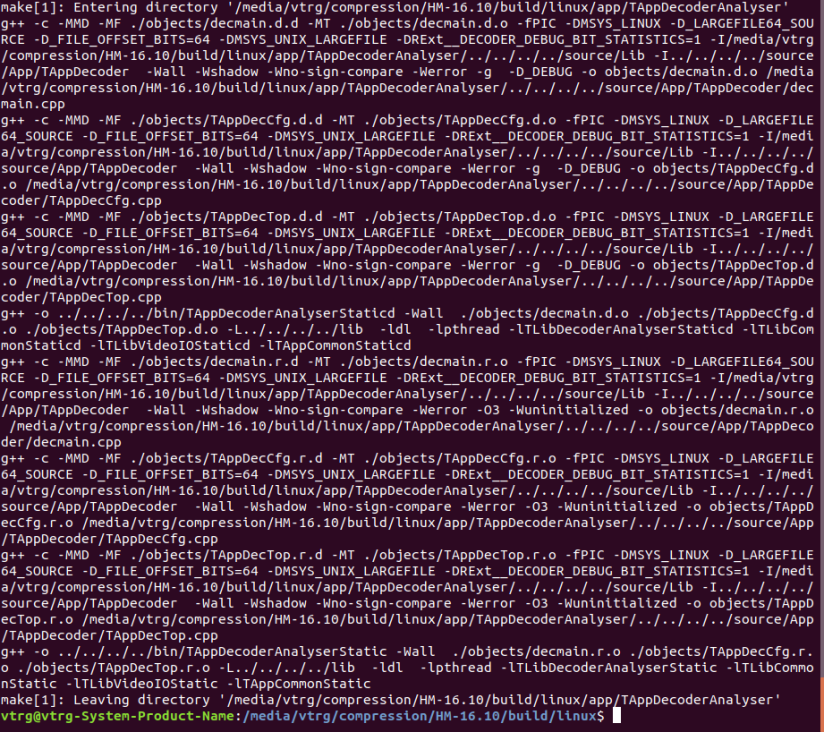
Step 2: Compile HEVC reference software (e.g. HM-16.10)
$cd /media/vtrg/compression/HM-16.10/build/linux
$make
Step 3: After compiling, copy two binary files (TAppEncoderStaticd and TAppDecoderStaticd) from bin folder in HM-16.10 folder to your folder directory.
Step 4: Run simulation
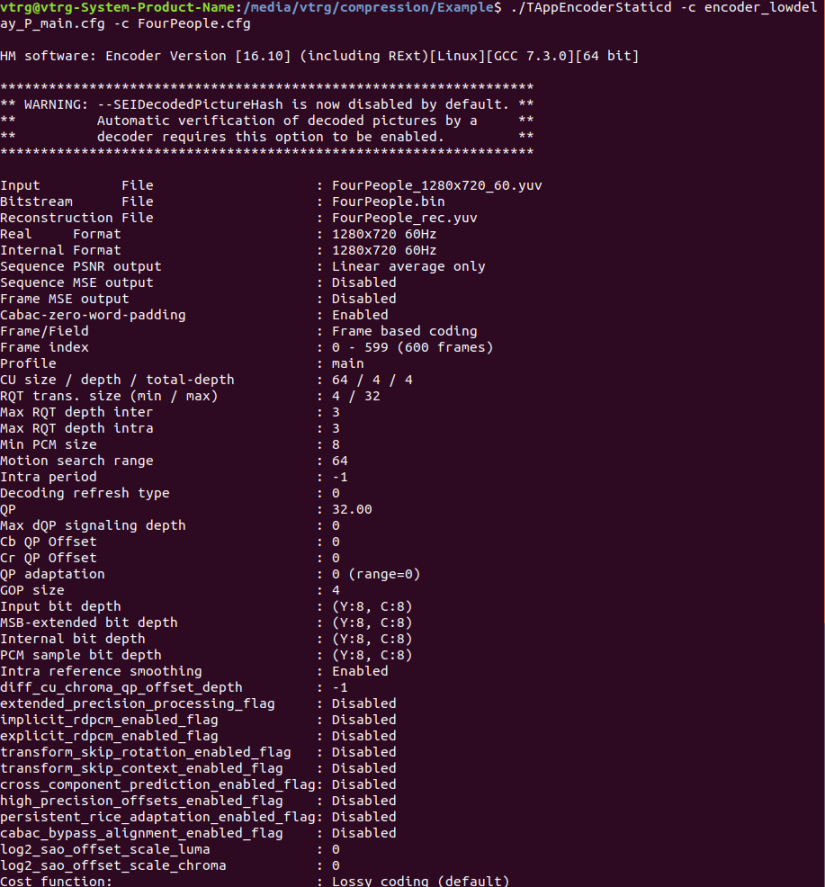
Encoding…
$./TAppEncoderStaticd -c encoder_lowdelay_P_main.cfg -c FourPeople.cfg
Decoding…
$./TAppEncoderStaticd -b FourPeople.bin -o FourPeople_dec.yuv
Congratulation, you succeed it!
